Shoulders get a lot of press, you can put a chip on one, look over it, or carry the weight of the world on them. None of that sounds particularly comfortable to me. The shoulder is a very moveable joint, kind of like the hip of the upper body! But unlike the hip, it doesn’t have a deep ball and socket joint to protect it. Because it is so moveable we tend to get in trouble. In addition, we have added chairs that do nothing to help our shoulder posture and tend to push everything forward, thus creating a rather rounded look.
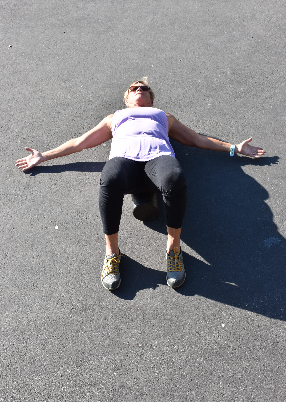
The shoulders not only carry stress but people tend to use them as stabilizers, instead of their core. Let’s see if we can lighten that burden with a few simple movements and releasing techniques. As a reminder movement should not hurt, all movement should be pain-free. If not please stop the exercise and consult your medical professional.
Once again your tools are a lacrosse ball, a foam roller, and a simple band. If you don’t have any of those you can use a corner of a room and simple movement patterns.
Bringing Blood Flow & Movement to the Shoulders
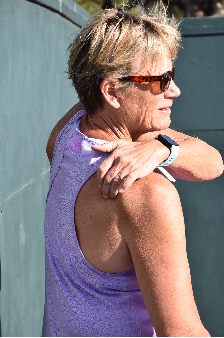
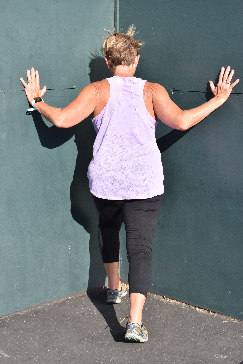
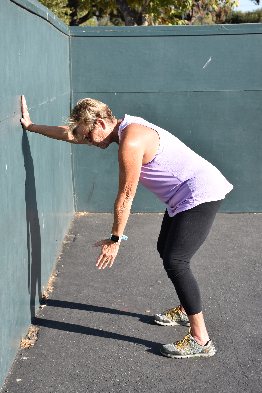
First, let’s try to bring blood flow and movement into our upper shoulders with the ball or the roller finding tight spots. If you cross your left hand to your right shoulder and put your index finger about an inch away from your front shoulder you will generally find a sore spot.
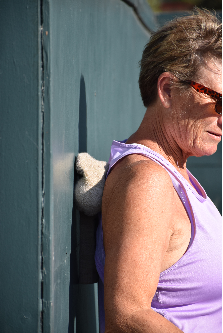
- Place the ball, (I put it in a sock) near that spot up against the wall, and see if you can feel the spot become less sore as you roll around the area. The roller works in the same capacity by uncovering those troublesome areas.
- Be sure to do both sides. You will probably notice more tightness or discomfort on one side more than the other.
Opening The Front of the Body
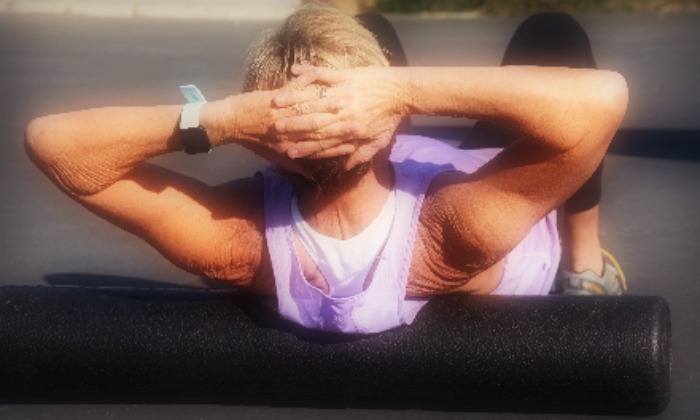
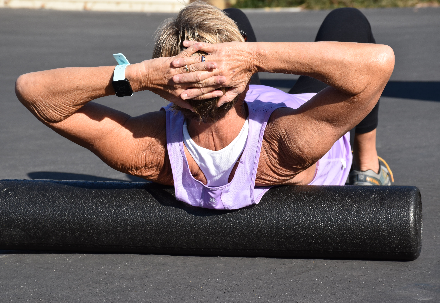
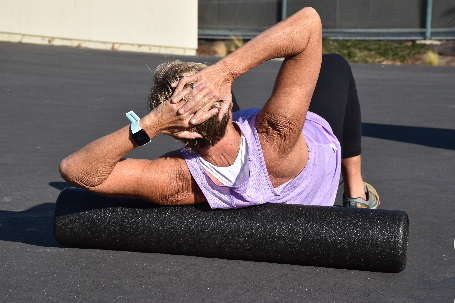
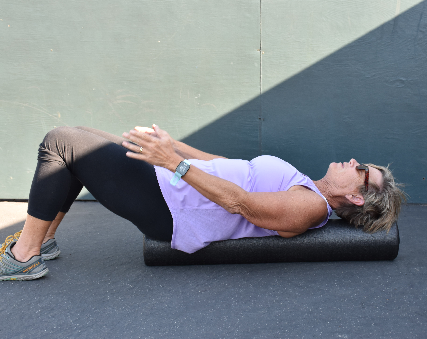
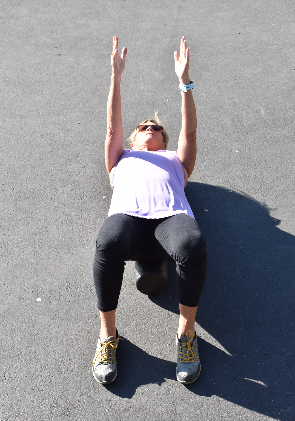
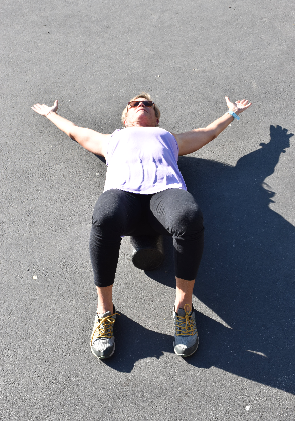
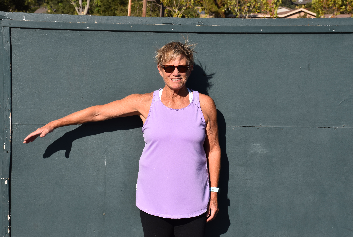
Next, we can try to open the front of the body, either with a roller, a corner, or a TRX. If we can open the front, then our back muscles will be able to move better. The shoulder complex is made up of 24 different muscles, big and small. Think of how often we are bent over something; our computers, our steering wheels, a book, a garden. This exercise alone can go a long way in relieving tension and tightness. Just hanging your arms over it in a T position can be beneficial, but if this is too uncomfortable, do it without the roller and just breath with open arms. Below I show the beginning position on the roller, then the I, Y, and T position of
the shoulder.
Moving the Shoulder Join
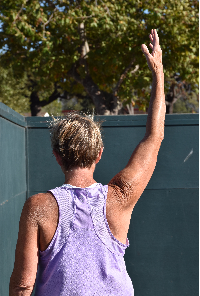
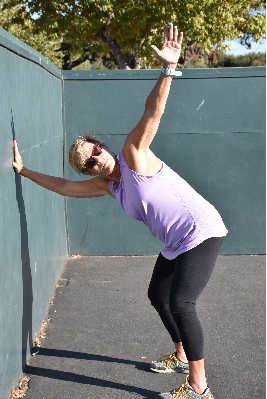
Once we have stretched the front we can begin to move the shoulder joint!
- First, reach up.
- Next, reach out.
- Follow those up with a rotational pattern. Start with one arm then move to two.
- Keep your shoulder down and away from your ears! (Therein lies the Challenge)
Now your ready to face the rest of the week, without the chips, or the world on those shoulders, and looking over it should be a bit easier!
Next up strengthening!
Want to Connect with other Ripped Grandma’s?
Join Me In My Facebook Group…
RIPPED GRANDMA WELLNESS MOVEMENT
*This blog post contains affiliate links from TRX Training. If you use them, I might be rewarded credit or a commission of the sale. Please note that I only recommend tools that I personally use and love and I always have my readers’ best interest at heart.